Sync data into Airtable
Airtable
7 min read

Sync data into Airtable
If your team tracks work across multiple tools, that means you’ve got multiple streams of data—and potentially a complex workflow to bring together.
Airtable sync can help you keep your data current and make it easy for others to find. Syncing allows you to bring multiple data sources into a single base, while keeping your data connected and your team aligned in the process.
What is Airtable sync?
Airtable Sync brings records from a view in a base (or an external source with a sync integration) to one or more destination bases, helping you keep information updated across your organization.
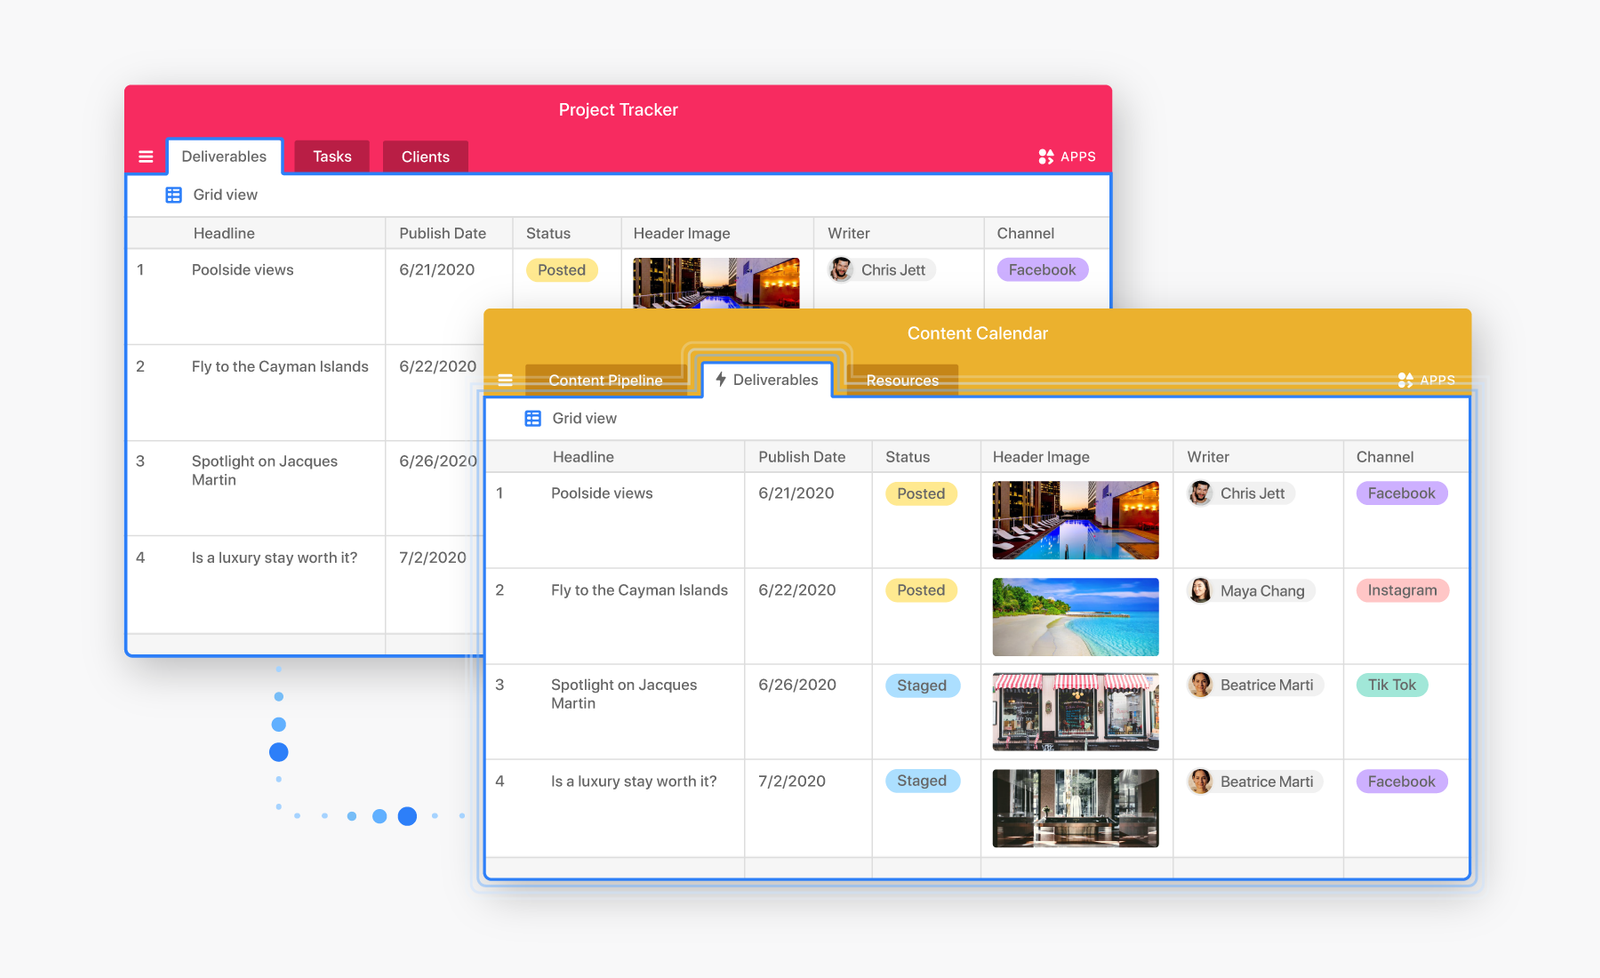
Any sync has two key components: A source and a destination.
When changes are made to the source data, those updates will automatically change in the destination.
Decide what (and where) data is synced
Like any other facet of your workflow, your sync set-up will be specific to you and your team’s needs —whether you need to sync data between bases, or from an external tool via a sync integration.
You have the flexibility to sync from one source or multiple sources to the same destination, or even bi-directionally between two bases. In whatever scenario works best, you determine what is synced, and how frequently.
Let’s explore three different ways to set up a sync, depending on your workflow needs:
1. Sync from a single source
The most straightforward way to sync your information is from a single source. This is useful when you need to break down data silos between bases, or bring in data from an important tool in your workflow.
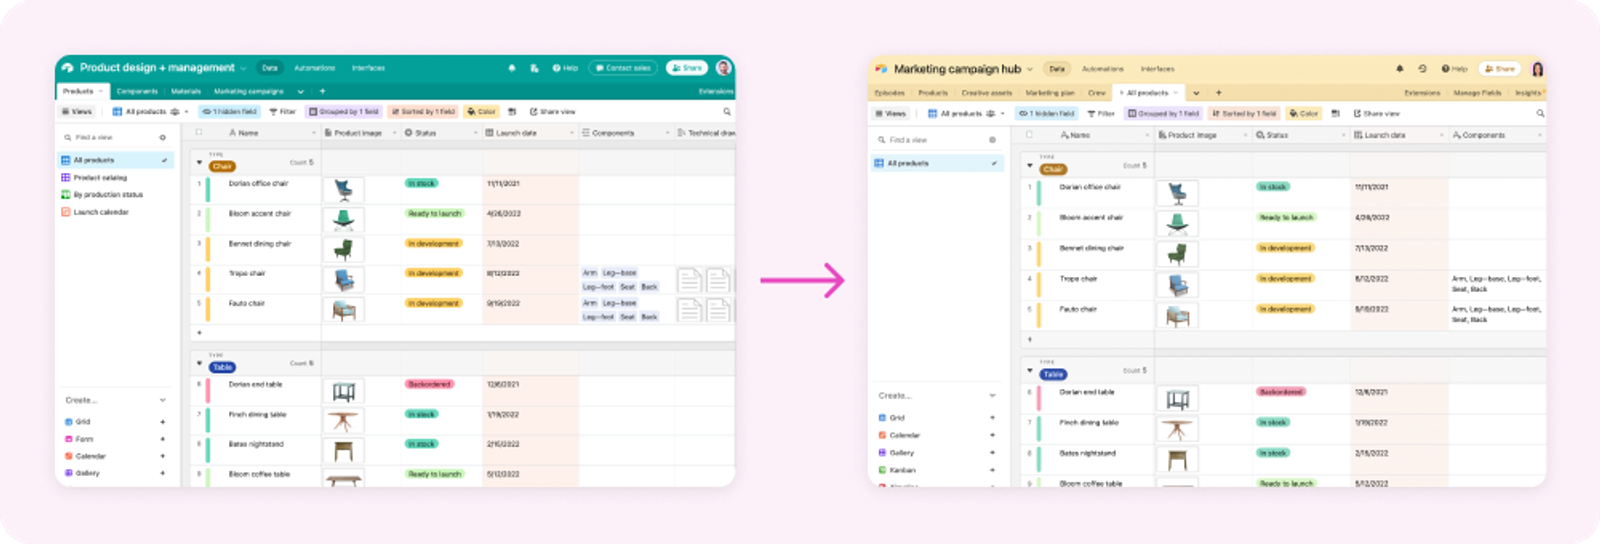
Imagine you're on a product team managing a roadmap. Your marketing team needs to be able to see your launch dates in order to plan their upcoming campaigns.
With sync, you can make your launch date information directly available to the marketing team, so they can plug your plans into their Campaigns base.
Any changes you make in source view will update in real time in the synced table in the Campaigns base, keeping them informed as timelines shift—no meetings, emails, or Slack messages necessary.
Pro tip: Connect your external tools with sync integrations
You can sync data from multiple third-party tools including: Jira cloud, Google calendar, Google drive, Box, Outlook calendar, Github issues, and Zendesk. Explore other ways to integrate with external tools here. Not seeing your tool? Request a sync integration.
2. Sync from multiple sources
If you need to sync information from more than one source, multi-source syncing allows you to bring in data from multiple bases and external tools into one place.
For example, if you’re managing creative assets for a campaign, you might have two teams uploading their assets onto two different platforms—maybe your in-house creative team is using an Airtable base, while your outside agency uses a Box folder.
With multi-source sync, information from both sources can come into a single base, giving you top-level control, tracking, and management for information from both groups.

If you’re syncing from a source that isn’t set up identically to your target base, be that another base or another tool, you can use a technique called “field mapping” to make sure each field of incoming data ends up in the right place.
3. Sync between two sources
A two-way sync is ideal for sharing the information in a table between two apps. It enables teams to collaborate on shared data and stay updated without being in the same app.
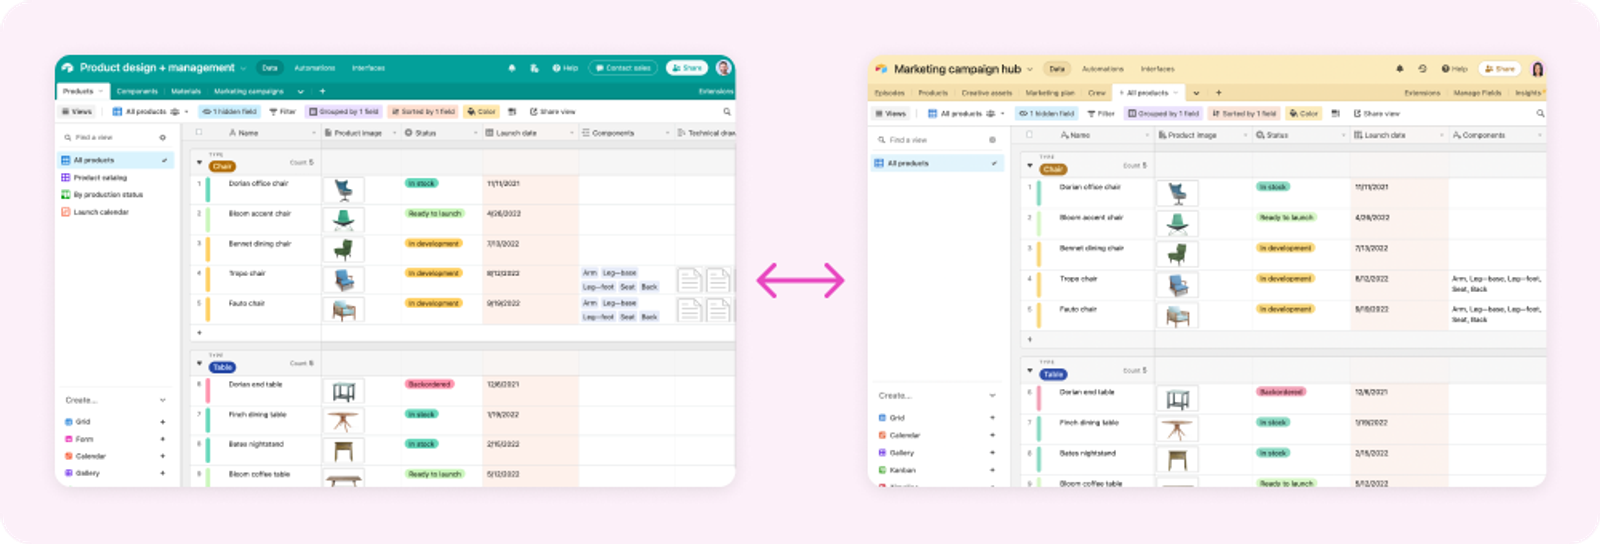
An example of where two-way sync can be especially powerful is when you have teams with shared workflows like product and marketing. Both teams rely on input from each other when it comes to keeping things like product roadmaps accurate and the precise timing for feature launches.
Two-way sync lets each team centralize their workflows in their own apps, while also enabling seamless bi-directional updates between essential tables. Everyone is automatically kept informed and aligned within the shared workflow without needing to take extra steps to ensure data is accurate.
For companies with advanced Airtable base ecosystems, two-way sync can streamline data updates across table locations. This potentially reduces the number of tables or bases needed to support your workflows, compared to one-way or multi-source syncs.
Make the most of a synced table ⚡
Sync settings go beyond choosing your source and destination. You can also control how a synced table behaves—specifically, when and how it syncs.
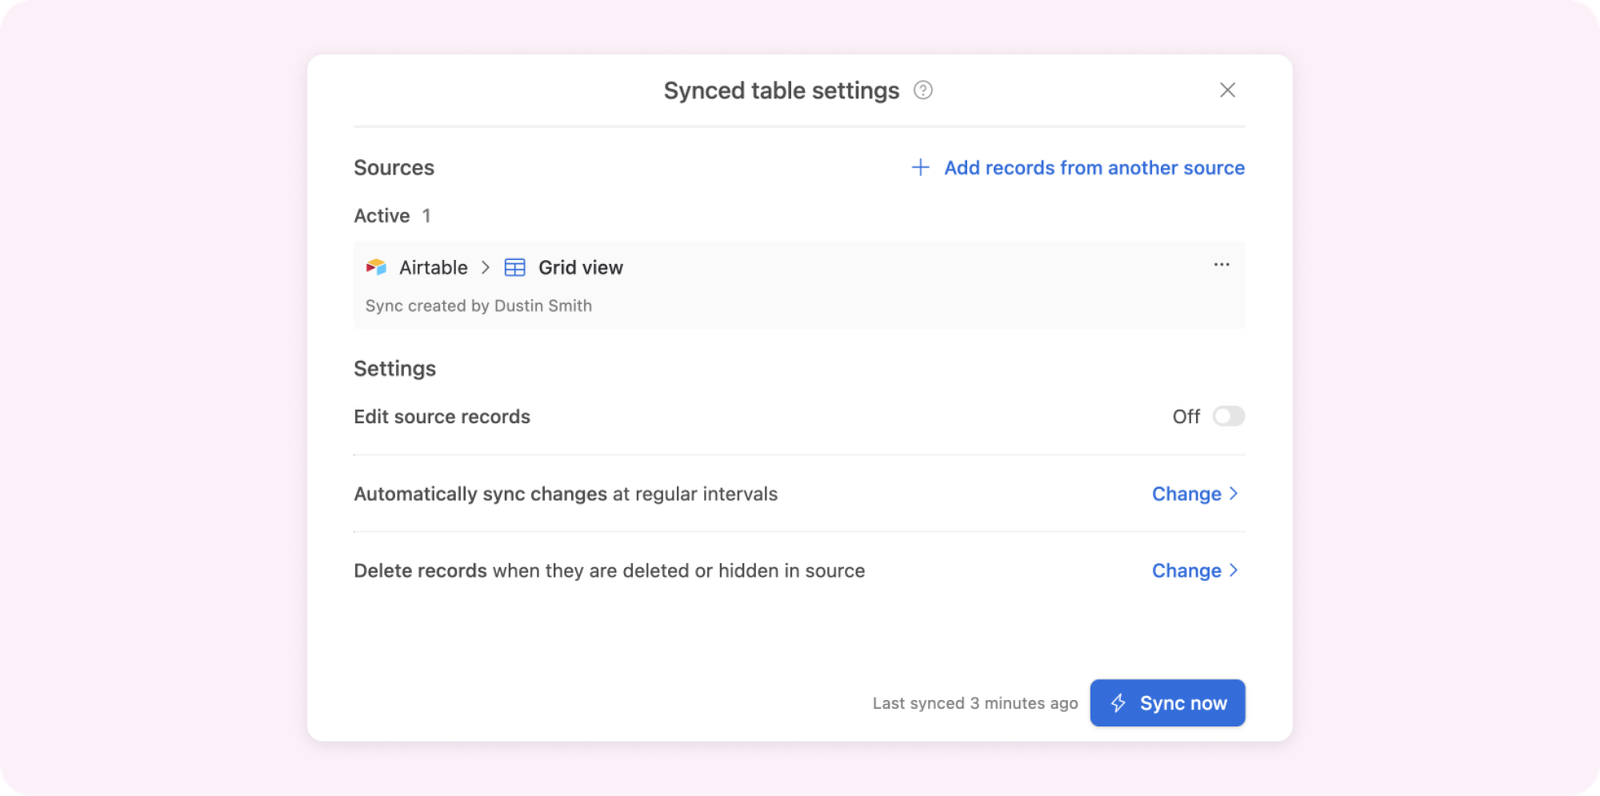
Determine how a sync behaves by updating the settings:
- Manual or automatic? You can set the sync to occur automatically, every five minutes, or manually, depending on your needs and plan type.
- Choose which specific fields to sync from the source table.
- What to do with hidden fields—do you want to import them, or not?
Pro tip: Synced data has a ⚡
If there’s a lightning bolt next to the name of the table and field, that signals that a table is synced.
If you’re working in a synced table, you can still group records and add views, or hide or add fields. But because your destination view mirrors the data in the source view, you won’t be able to add, remove, or edit the data in the destination.
Take action: Set up your first sync
Now that you’re familiar with sync, it’s time to try it out in your workflow! If you’re working across multiple bases, try syncing data from one view to another base.
First, choose the view that will serve as the source. The data visible in that view is what will be synced. Any updates to that view will update what’s visible in the synced table. To enable syncing, go into the share view button, and toggle to allow data to be synced from this view.
Then, determine the destination base by adding a table and select your source from the “Sync data from” menu. Paste your share view link to turn this into a synced table.
Now, you can configure your sync settings including frequency, what fields go where, and which fields to include. Sync complete!

