Prep your base for onboarding
Airtable
5 min read
Written by
Airtable
Filed Under
Collaborate with your team
TOPICS
Prep your base for onboarding
Now that you have your rollout plan, it’s time to get your base prepared for collaboration. Coordinating a base for your team is different from running a base just for yourself. Your teammates need the right context for their work—which means a thoughtfully designed base.
Review your base and launch goals
Pro tip
Before inviting additional collaborators, it’s helpful to revisit your launch goals, and make sure your base is optimized to hit them. We recommend a 30-minute meeting with your launch team to double-check that your base meets the team’s needs.
This is also a good time to enhance your base with the following collaboration elements.
1. Create a base guide
The name of your base should help collaborators understand its purpose—but you might need to give them even more context. If that’s the case, you can add longer, more detailed guides to each of your bases.
The description extension lets you write rich-text notes with additional context for your base, store high-level checklists, or create documentation for your fellow team members to get them up to speed.
2. Add table, field, or view descriptions
Describe your base’s various functions, to give your colleagues a richer understanding of its parts. Mouseover-viewable descriptions can be added to any view, table, or field.
3. Create a personal view
Views allow you to look at the same information in a number of different ways. You can customize filters, hide fields, group data, and more. Views are collaborative by default, but you can also set them to “personal”—a setting which means that only you can control and view them, unless you opt to share.
You can empower your team to create their own personal views once they’re invited—giving each teammate their own space. Team members can tailor a view to their individual needs and working styles, without accidentally impacting the work of others.
Pro tip: View settings
View settings control how your collaborators can interact and adjust a views configuration.
Collaborative view - anyone can adjust a collaborative view configuration
Personal view - only the personal view’s owner can adjust the view configuration
Locked view - no one can adjust how a locked view is configured, unless unlocked
Note: Depending on a collaborator’s permission level, they can still add, delete, and edit records.
4. Design an interface
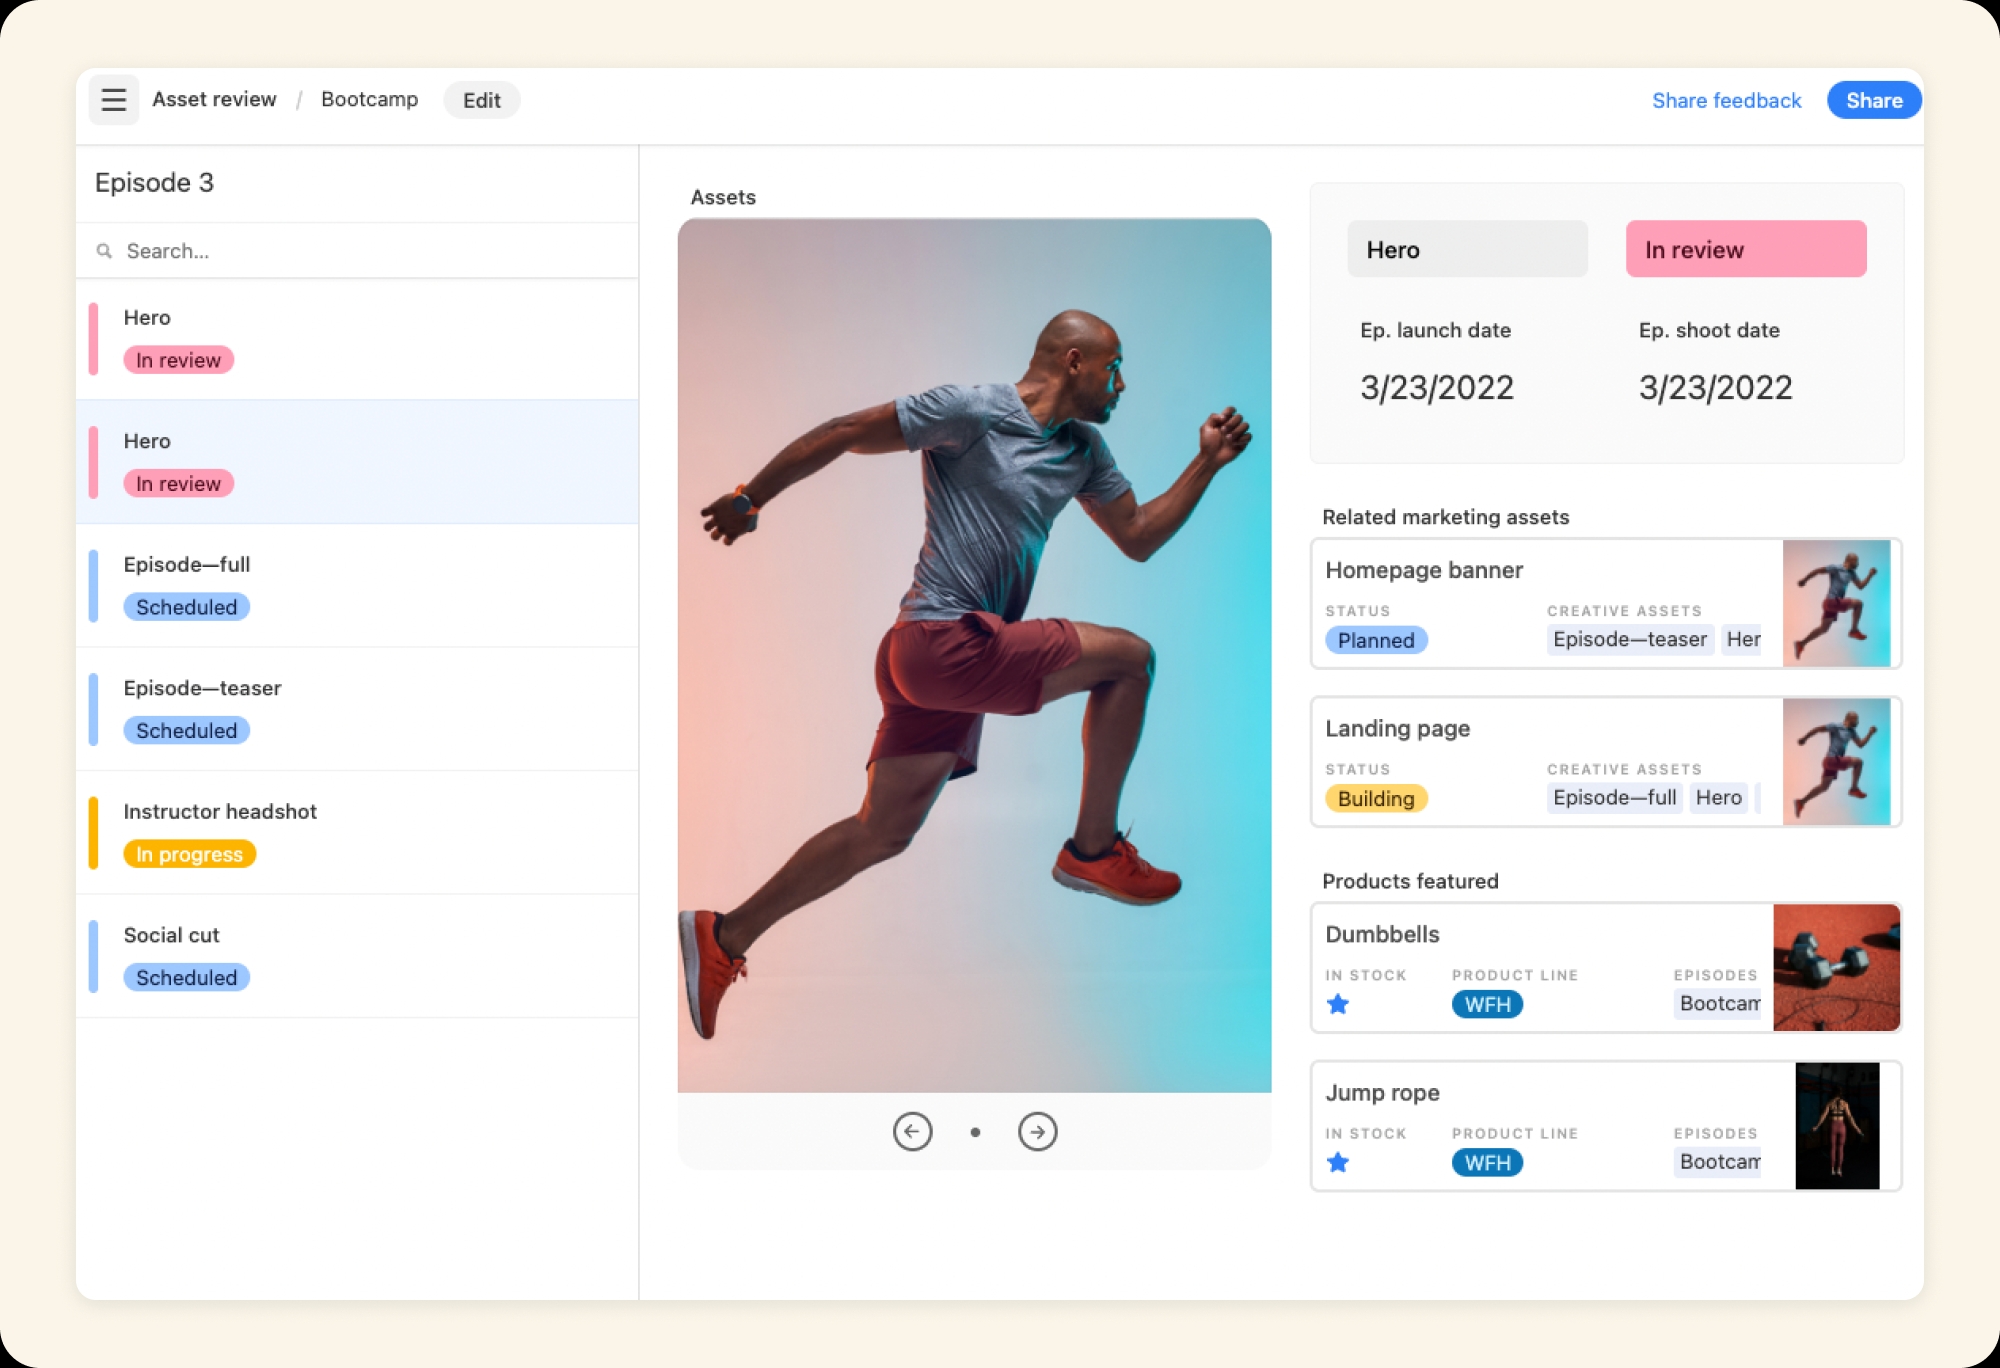
By following steps 1 through 3, you’ve prepped your base with the context your teammates will need to jump in and start collaborating. But if you’re concerned about overwhelming them with information, or you want them to see specific data in a more customized, visual way, consider creating an interface instead.
An interface gives collaborators a customized display of information from your base, and allows them to give input or review data in a lightweight way.
Your base is now collaborator ready! You’ve set up your base in a way that will be easy for your teammates to approach and understand. Next up, we'll walk through best practices when introducing Airtable to your team with additional resources and context they’ll need.